

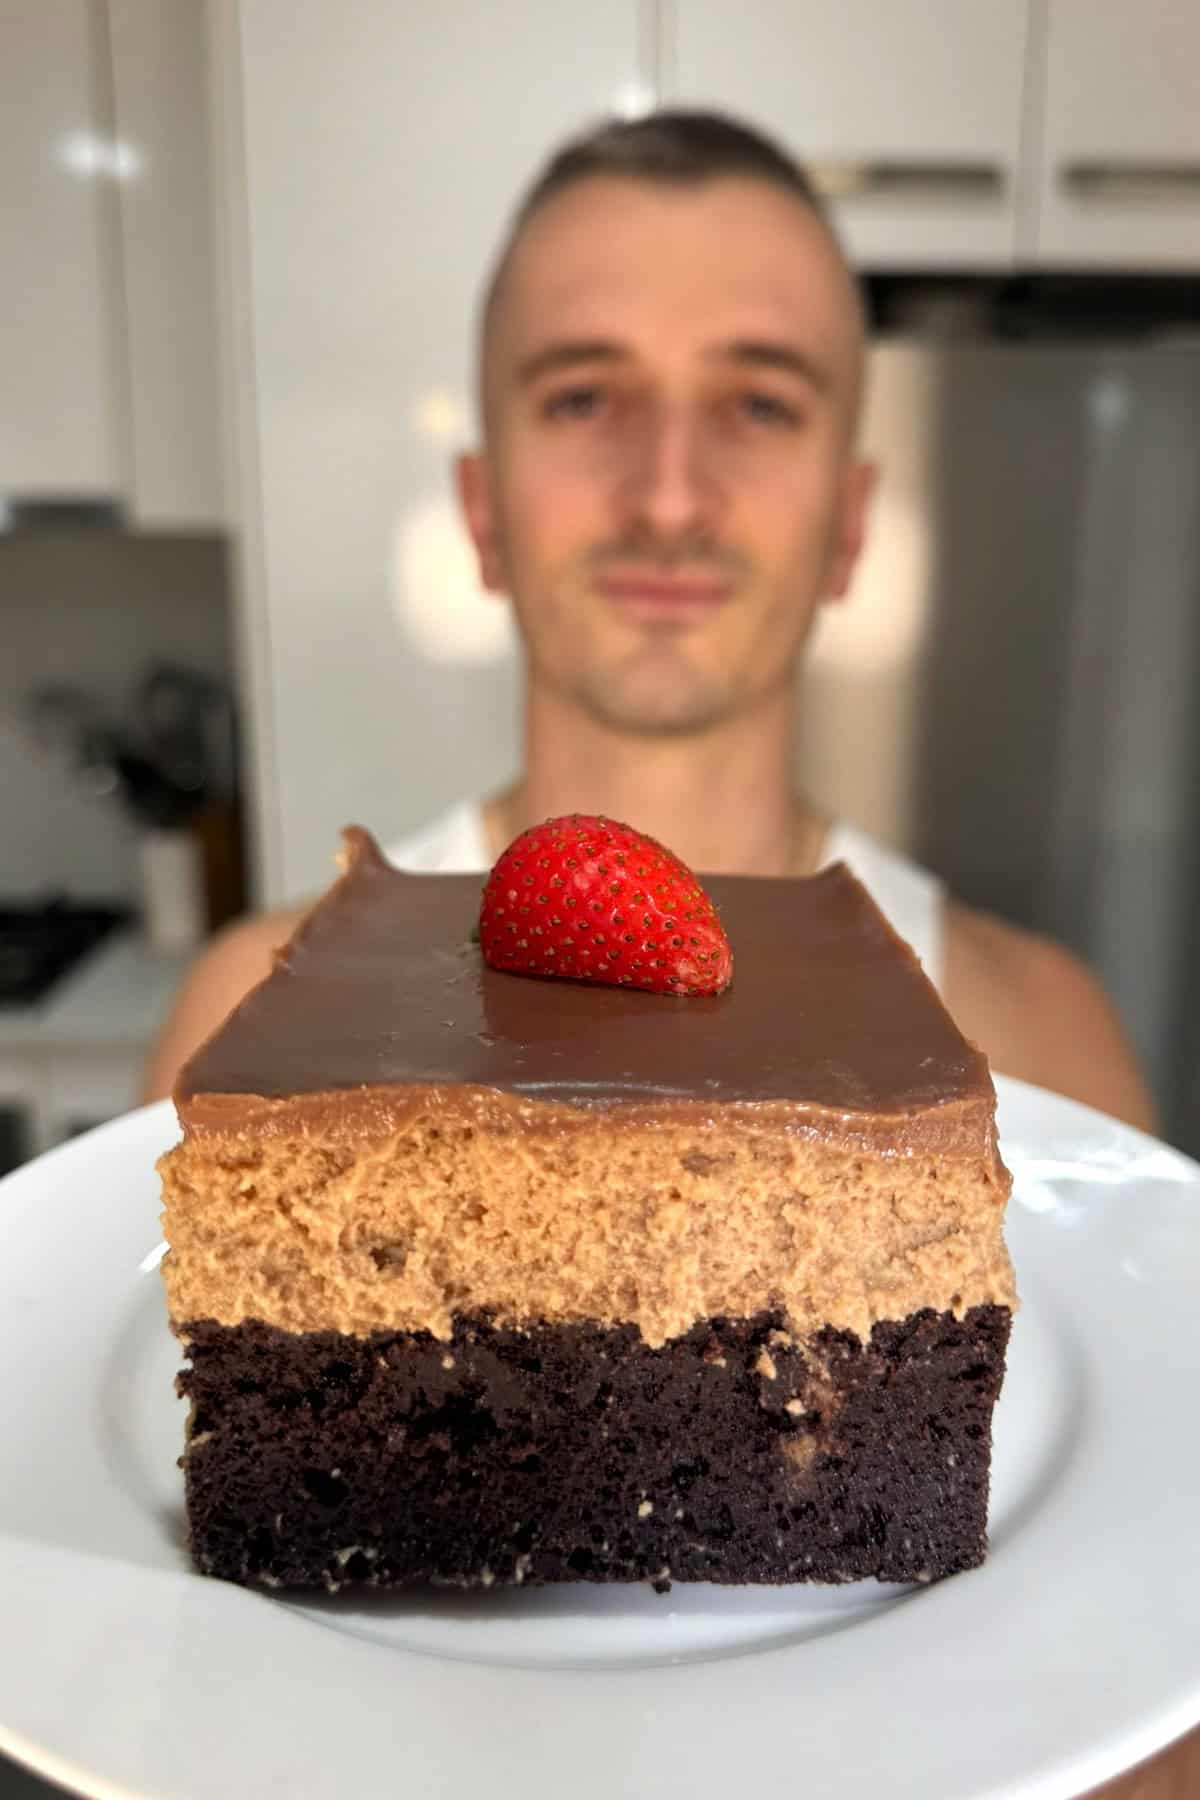
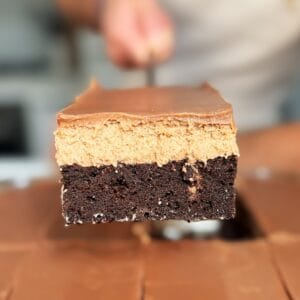
Pasta Sokolatina is seriously the ultimate moist Greek chocolate cream cake. Imagine a syrupy, melt in your mouth sponge layered with airy whipped cream and drenched in glossy chocolate ganache! This recipe has three amazing layers, and every bite is rich, fluffy, and filled with silky chocolate goodness.
If you love these rich chocolate flavours but want a simpler version, you have to try my sokolatopita recipe. It is another famous Greek chocolate cake that is quick, easy, and absolutely delicious. Or, if you want something just as impressive with beautiful layers and a different twist, you have to check out my ekmek kataifi recipe.
Jump to:
Why you will love this cake
- Moist and Syrupy Goodness: The syrup soaked sponge gives this Greek sokolatina a soft, melt in your mouth texture that tastes like pure chocolate happiness!
- Three Incredible Layers: Light sponge, fluffy whipped cream, and silky chocolate ganache come together for the ultimate dessert experience.
- Simple Yet Impressive: Even though it looks like it belongs in the window of Greek dessert shops, this recipe is surprisingly easy to make at home!
- Perfect for Every Celebration: Whether it is a birthday party, a family dinner, or a casual Sunday dessert, this decadent chocolate cake always steals the show!
Watch the video tutorial
Want to see exactly how easy it is to make this moist chocolate cream cake? Watch my step-by-step video to see this pasta sokolatina recipe come to life!

Make sure to like, comment, and share the video with your friends who love Greek desserts as much as you do!
Ingredients
Let’s take a closer look at what makes this incredible pasta sokolatina so special! As always, see the recipe card below for the exact amounts.
Syrup
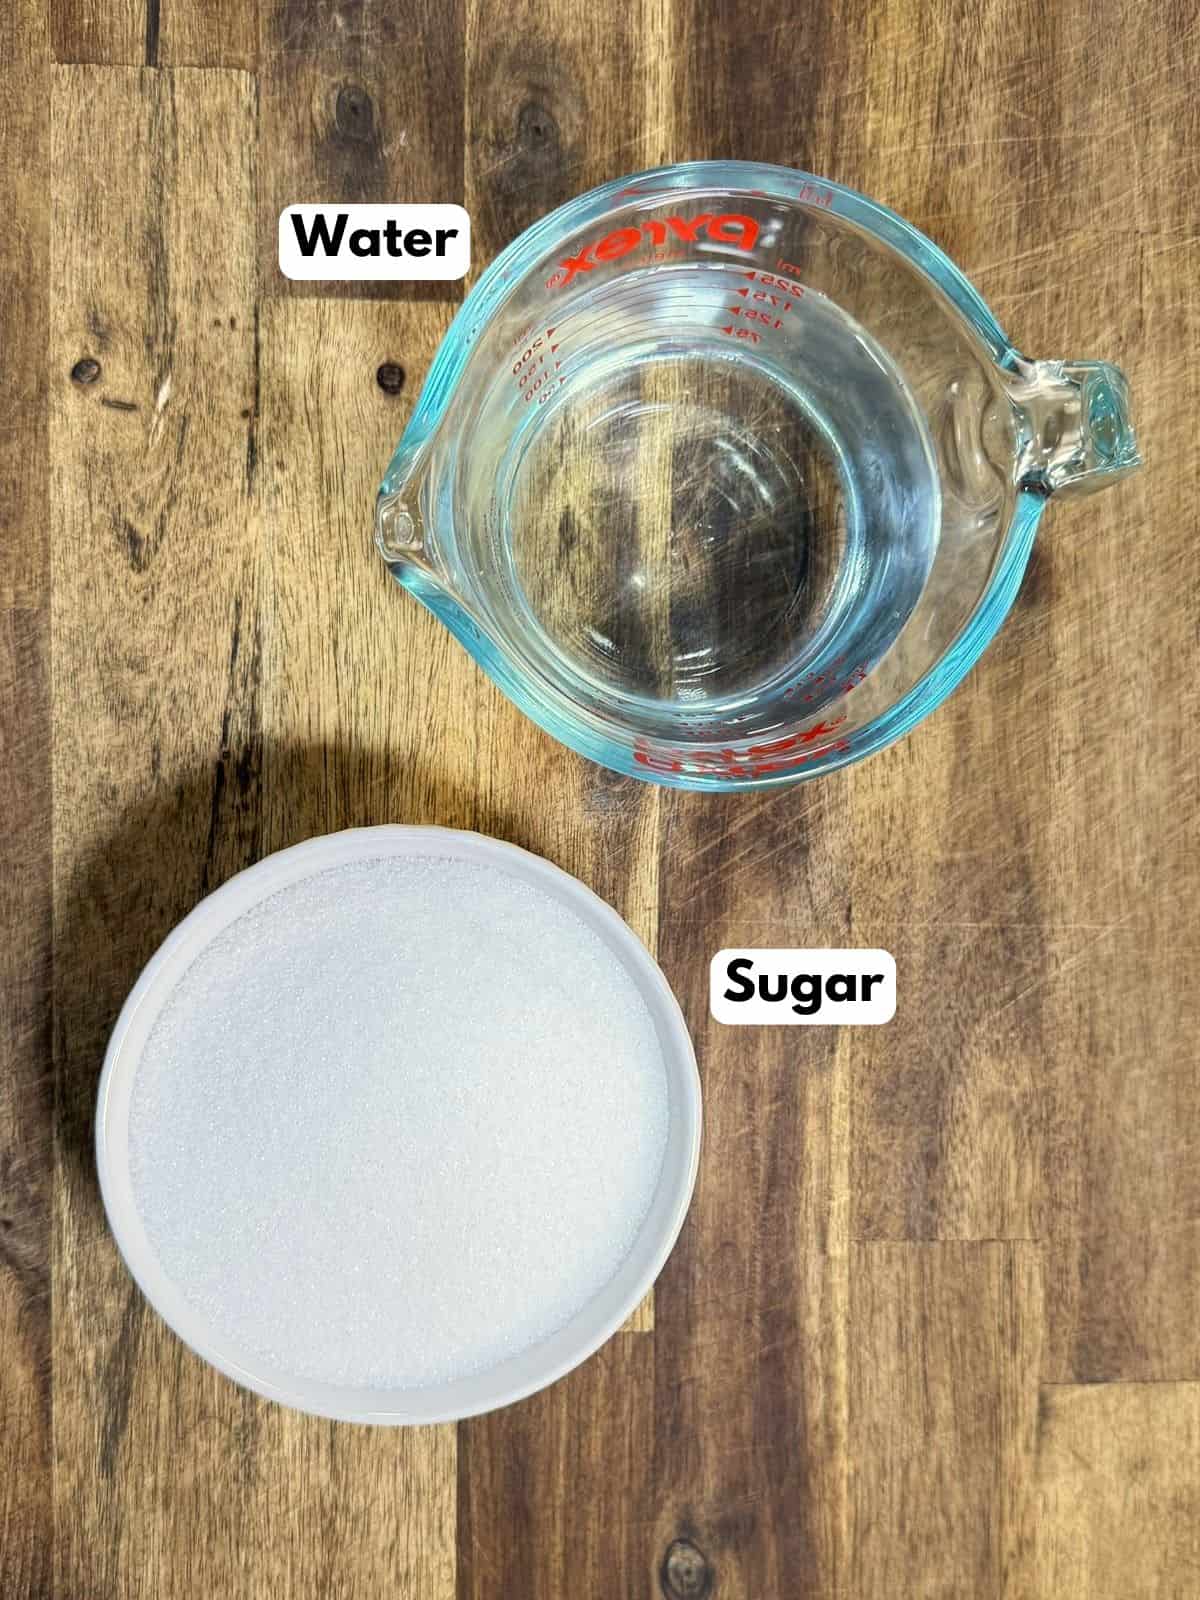
- Water and Sugar: Two simple pantry staples that come together to make the syrup, or siropi (σιρόπι), just like you find in so many traditional Greek desserts.
- Note: I always make the syrup straight away so it has as much time as possible to cool down. You want the cooled syrup ready to pour over the hot cake later for the best texture.
Sponge layer
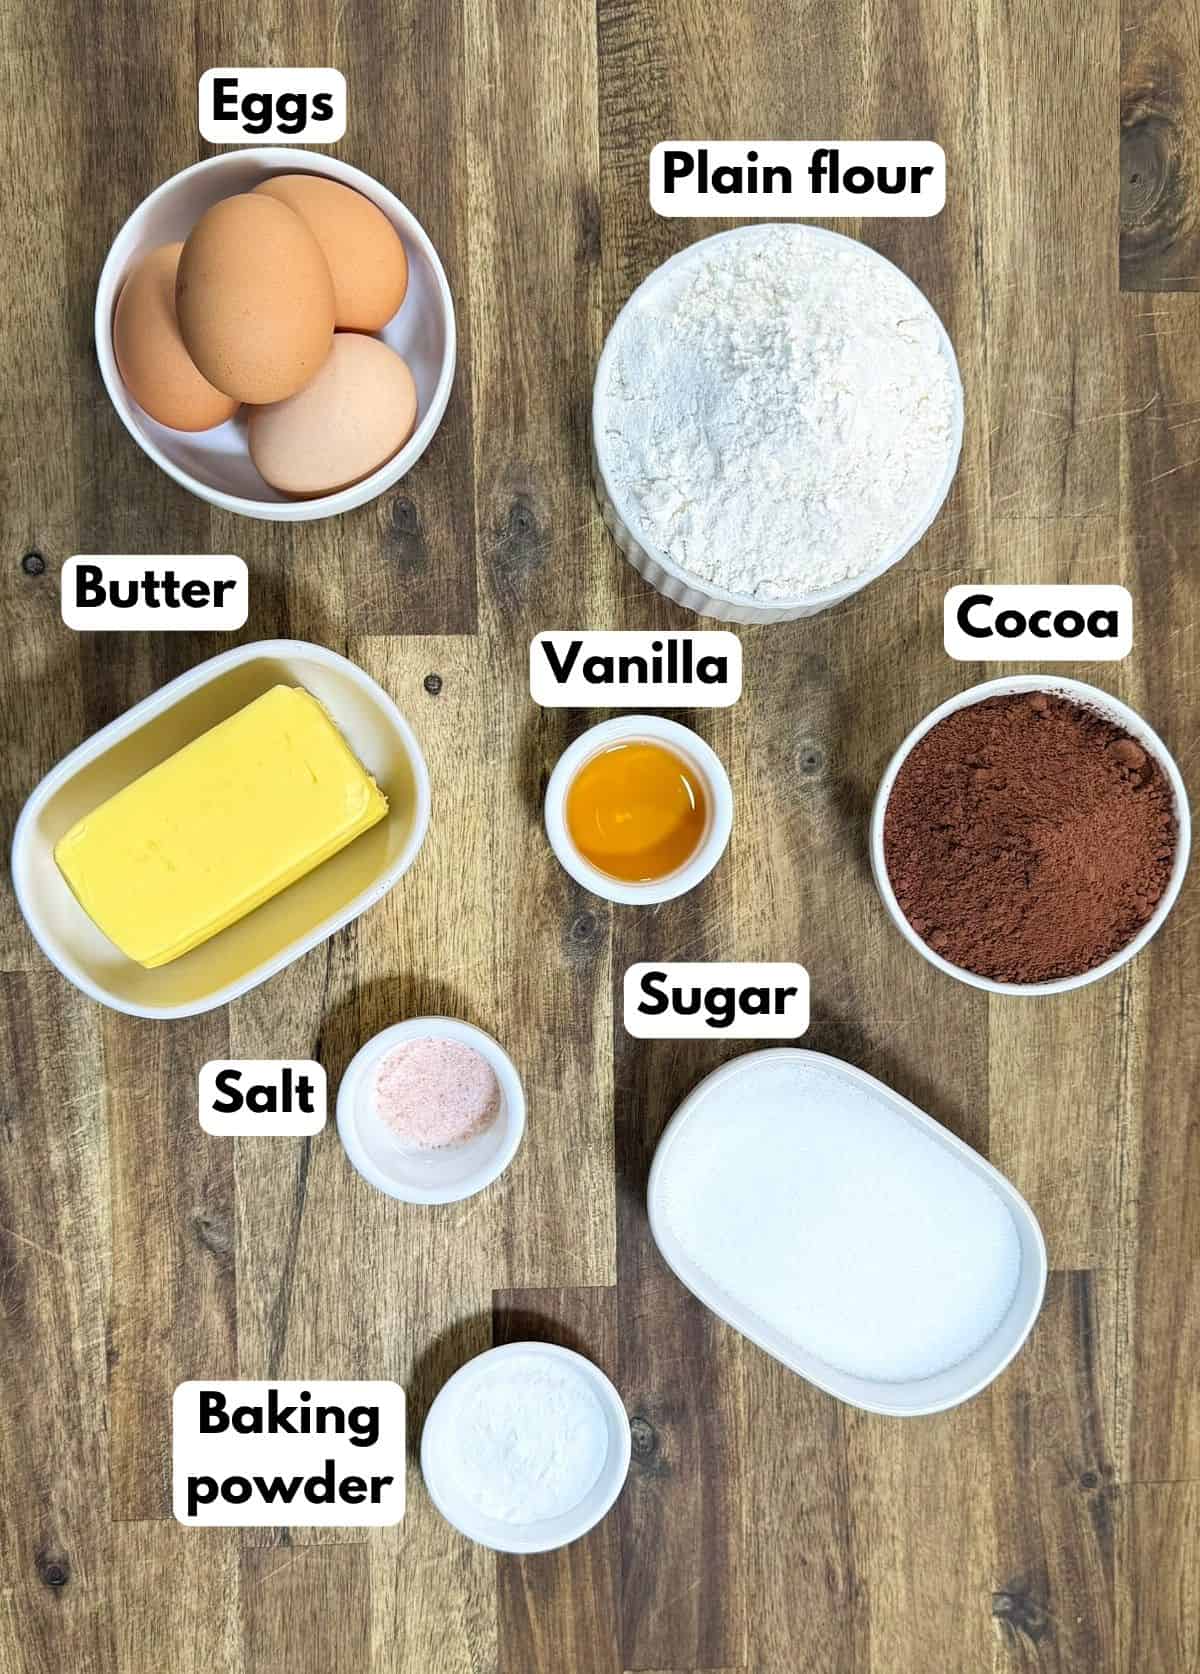
- Whole Eggs and Sugar: Whipped together until light and fluffy, they give the sponge its structure and airy texture right from the start.
- Vanilla Extract: A small amount of vanilla ties all the chocolate flavours together perfectly.
- Unsalted Butter: Melted butter keeps the sponge rich and tender without making it heavy. A lot of cakes use vegetable oil, but I find butter gives a much better flavour and texture.
- Plain Flour: Also called all-purpose flour, it gives the sponge structure without making it heavy. I prefer plain flour here to control the rise better.
- Unsweetened Cocoa Powder: Brings a rich chocolate flavour and gives the sponge its deep colour without adding extra sweetness.
- Baking Powder: Makes sure the sponge rises properly and stays soft and airy.
- Salt: Just a pinch sharpens the flavours and makes them pop.
Whipped cream Layer
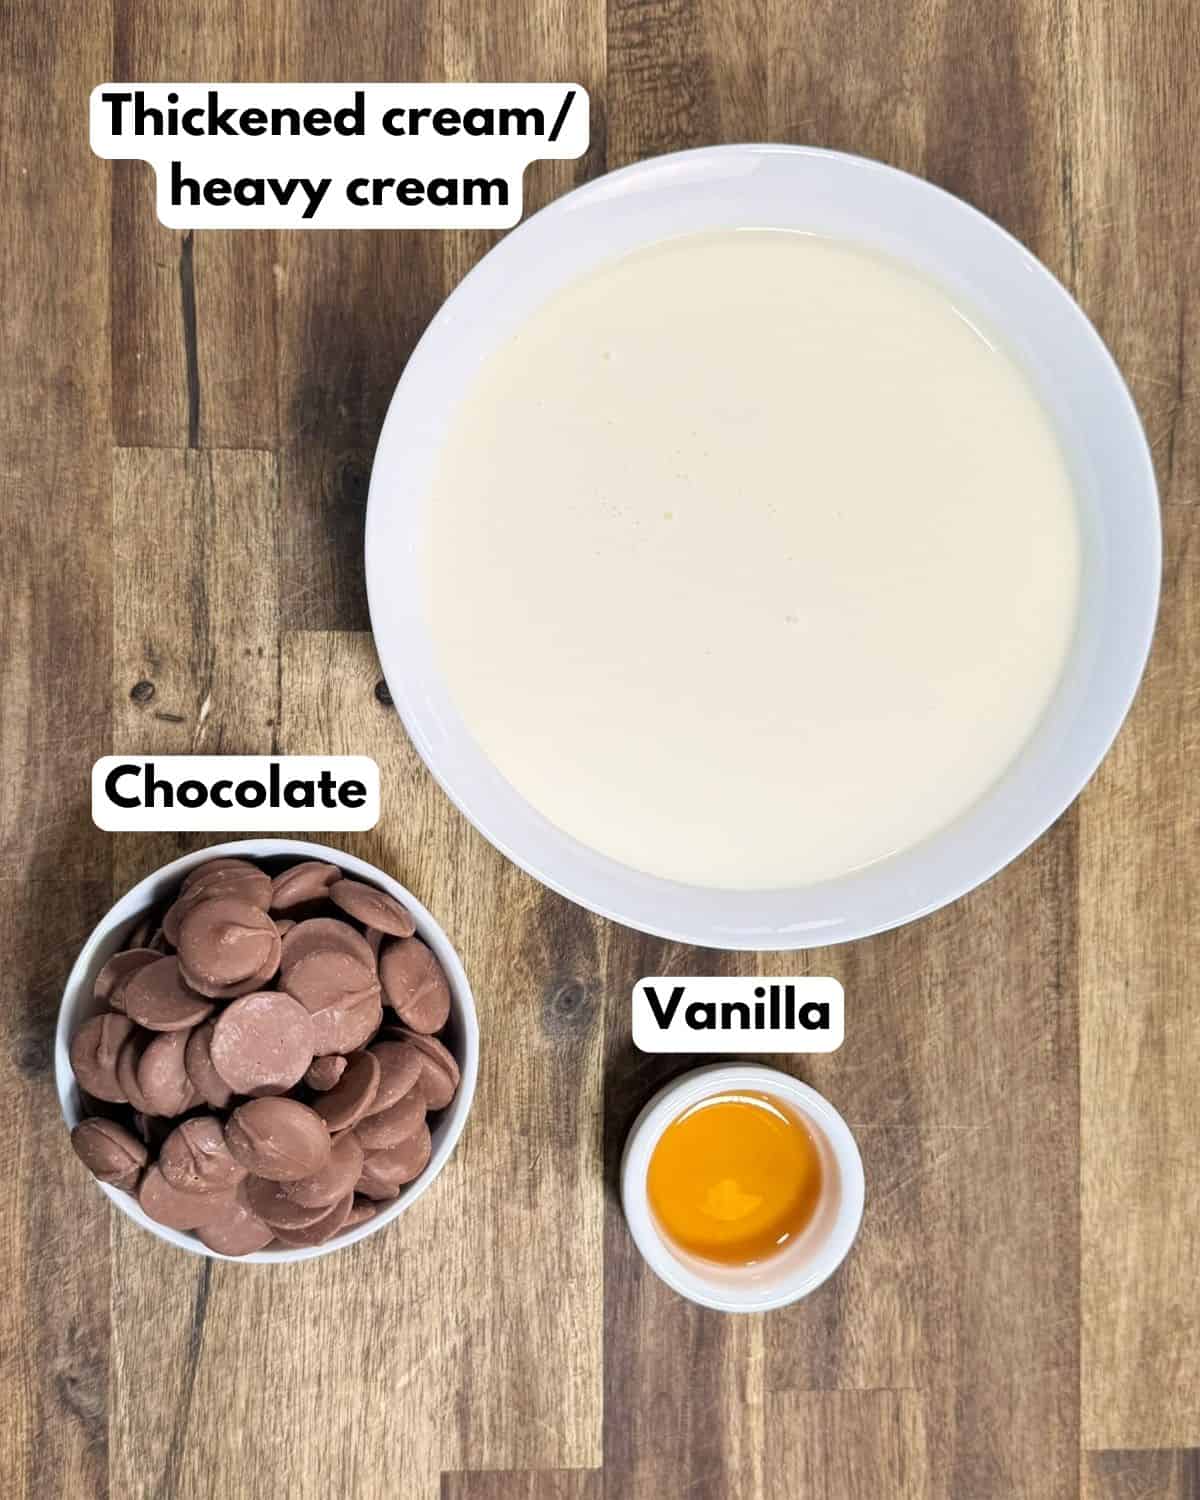
- Thickened Cream/ Heavy Cream: I go for cream with 35% fat to make sure it whips up thick and holds its shape properly.
- Vanilla Extract: A splash of vanilla rounds out the flavour nicely.
- Milk Chocolate: I love using Cadbury baking milk chocolate for this layer. It melts smoothly and gives the whipped cream a rich, silky texture. I usually melt the chocolate using a double boiler, but you can also melt it in the microwave if you prefer.
Ganache
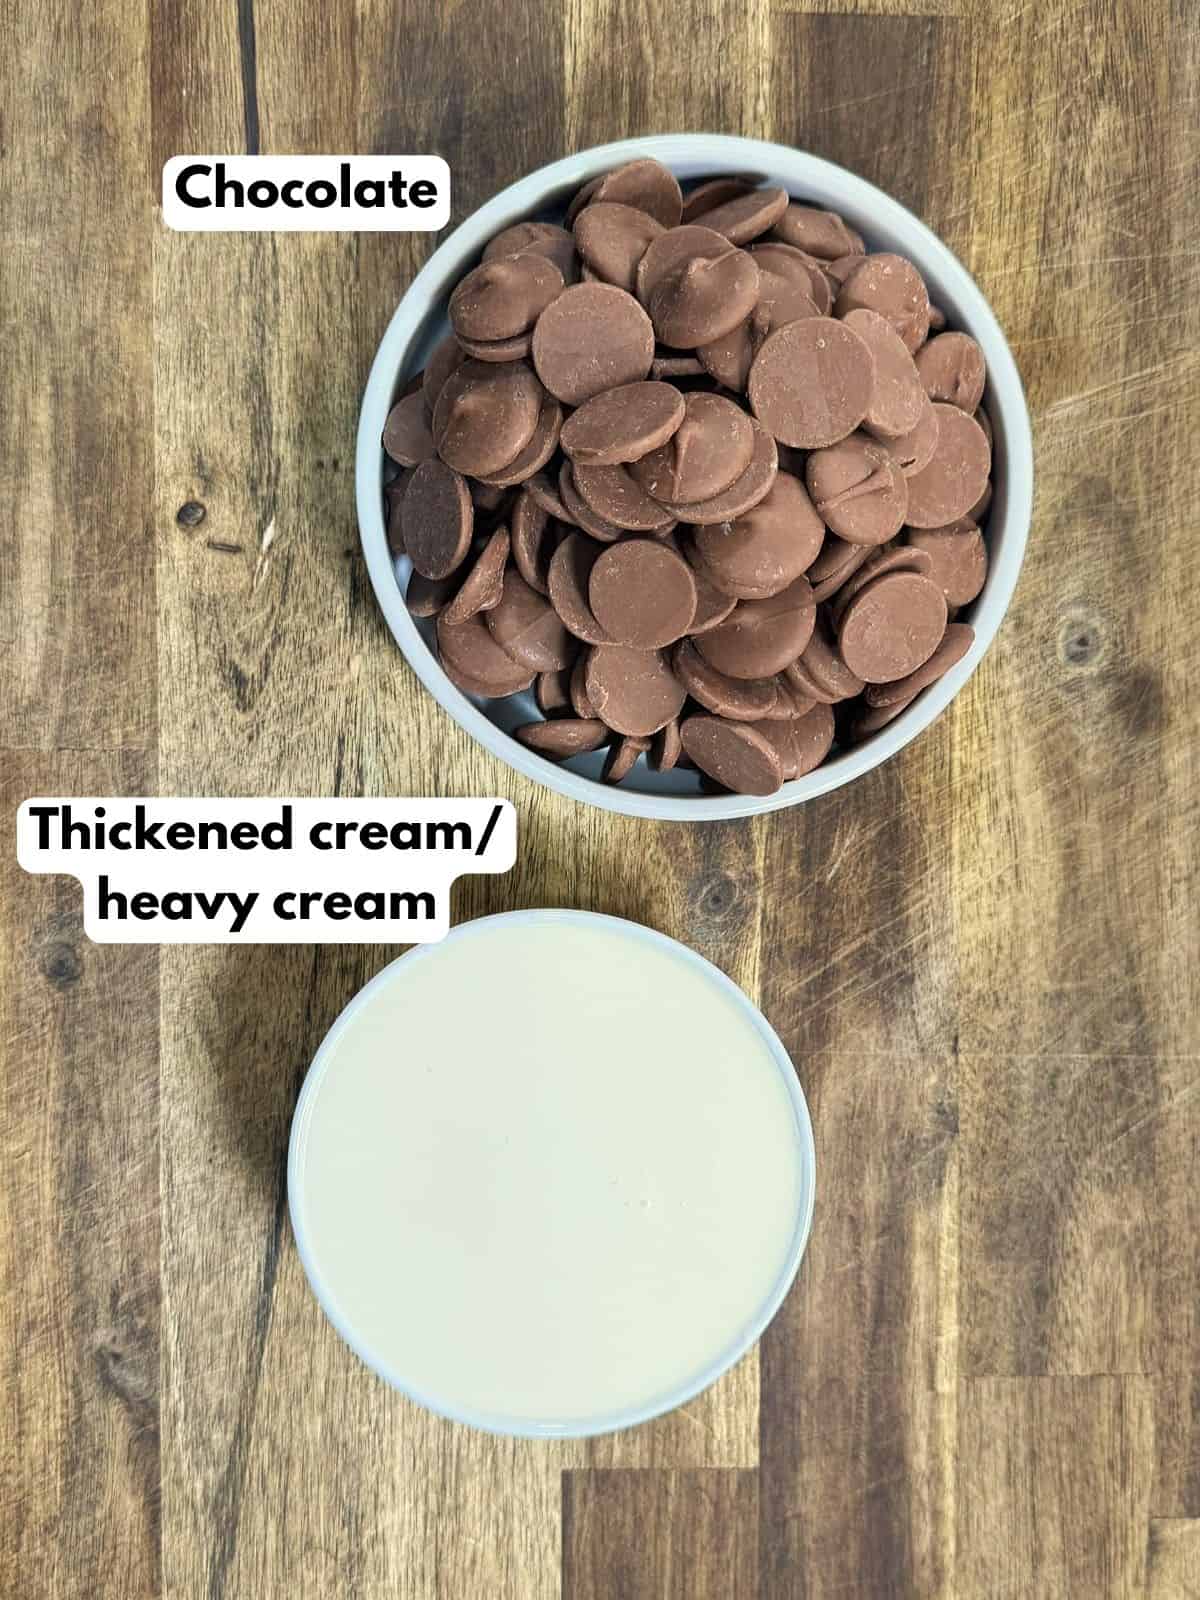
- Thickened Cream / Heavy Cream: I use the same 35% fat cream here. We bring it to a boil and use it to melt the chocolate.
- Milk Chocolate: I stick with the same Cadbury chocolate for the ganache too. It melts easily and sets into a rich, glossy layer. You could swap it for a dark chocolate if you prefer, but I like to keep the milk chocolate flavour all the way through.
Preparation
Before you get started, it is a good idea to have everything organised so the baking process feels smooth. You do not need to do everything at once, just plan it out. There are a few resting periods while you wait for the sponge to cool and for the cream to set, so you will have natural breaks between the steps.
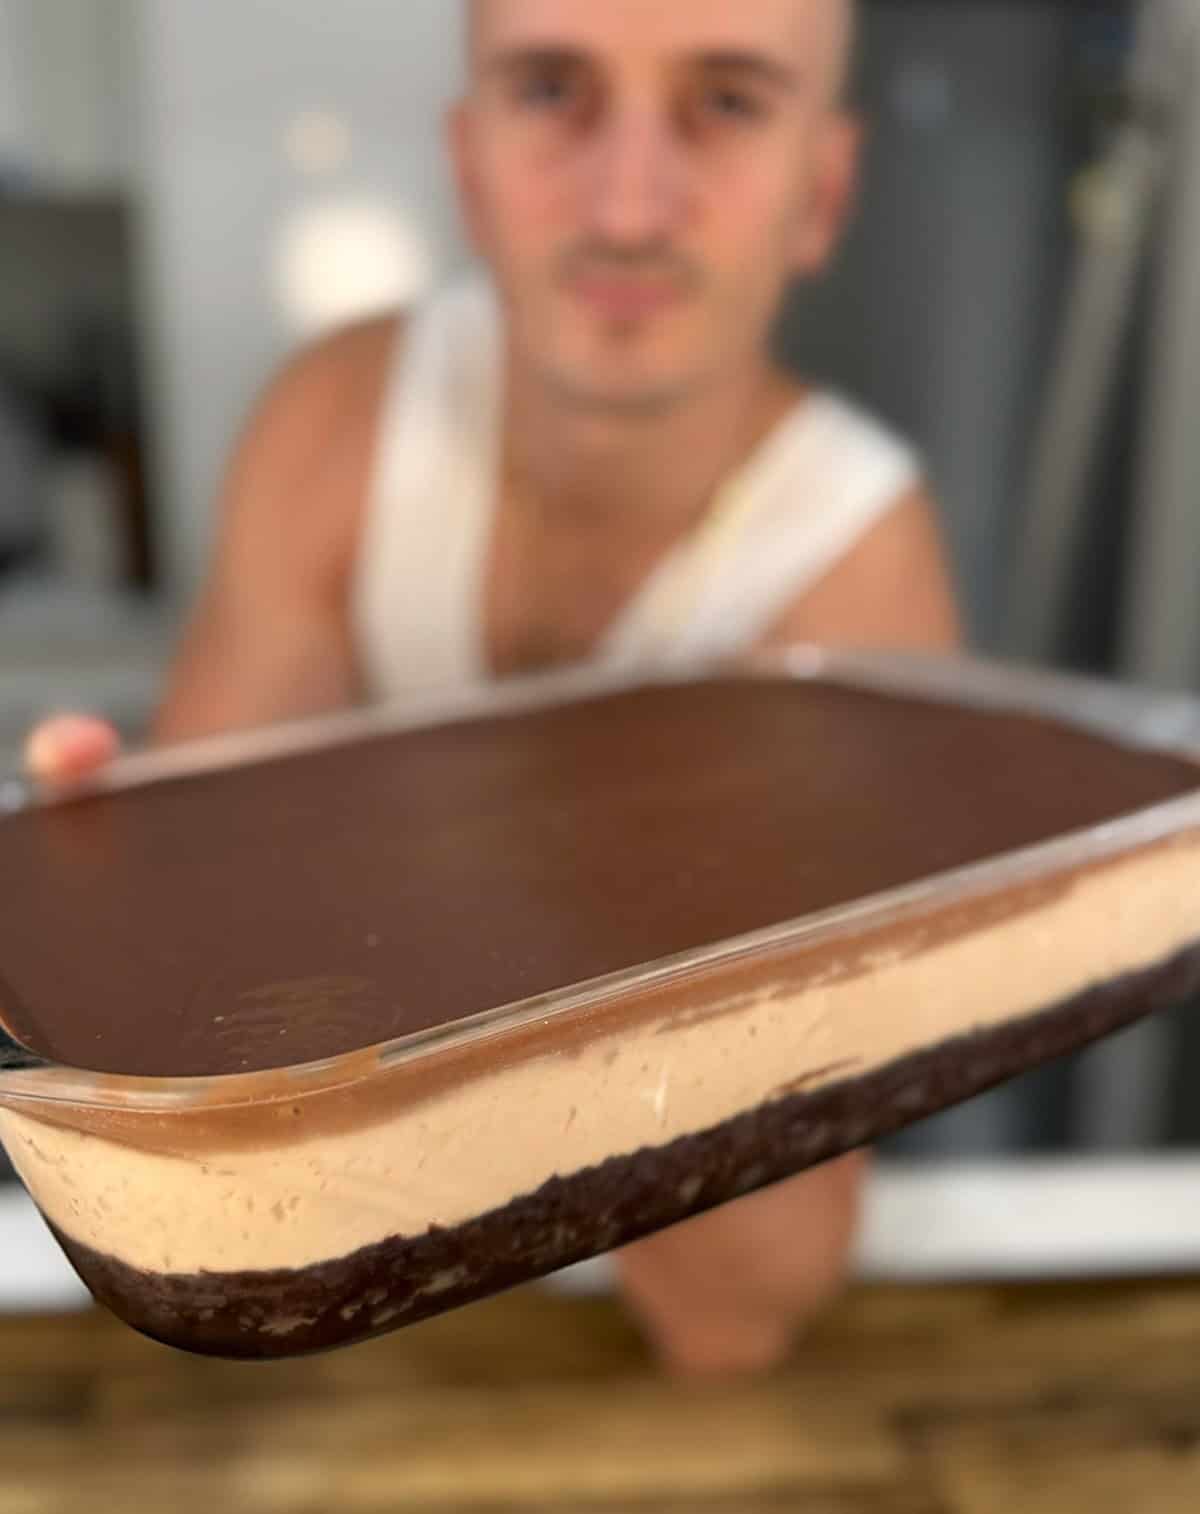
- Prepare your baking dish: I use a dish that is 31cm x 23cm. Butter the base and sides well, and make sure the sides are not too short because the cake stacks up quite high with the layers.
- Measure out all your ingredients: Use a kitchen scale to get everything as accurate as possible. It really makes a difference to the final result.
- Get your equipment ready: Have enough mixing bowls ready, plus a hand mixer for beating the eggs and sugar, and later for whipping the cream.
- Melt your butter: Melt the butter for the sponge layer early in a small saucepan. You can use the same saucepan later to heat the cream for the ganache, just make sure it is rinsed and cleaned first.
- Melt your chocolate: Decide how you want to melt your chocolate for the whipped cream step. You can set up a double boiler like I do, or simply use the microwave.
Step-by-step Instructions
Follow these simple steps to bring this pasta sokolatina recipe to life. If you get stuck, make sure to watch my video for extra help!
Make the syrup
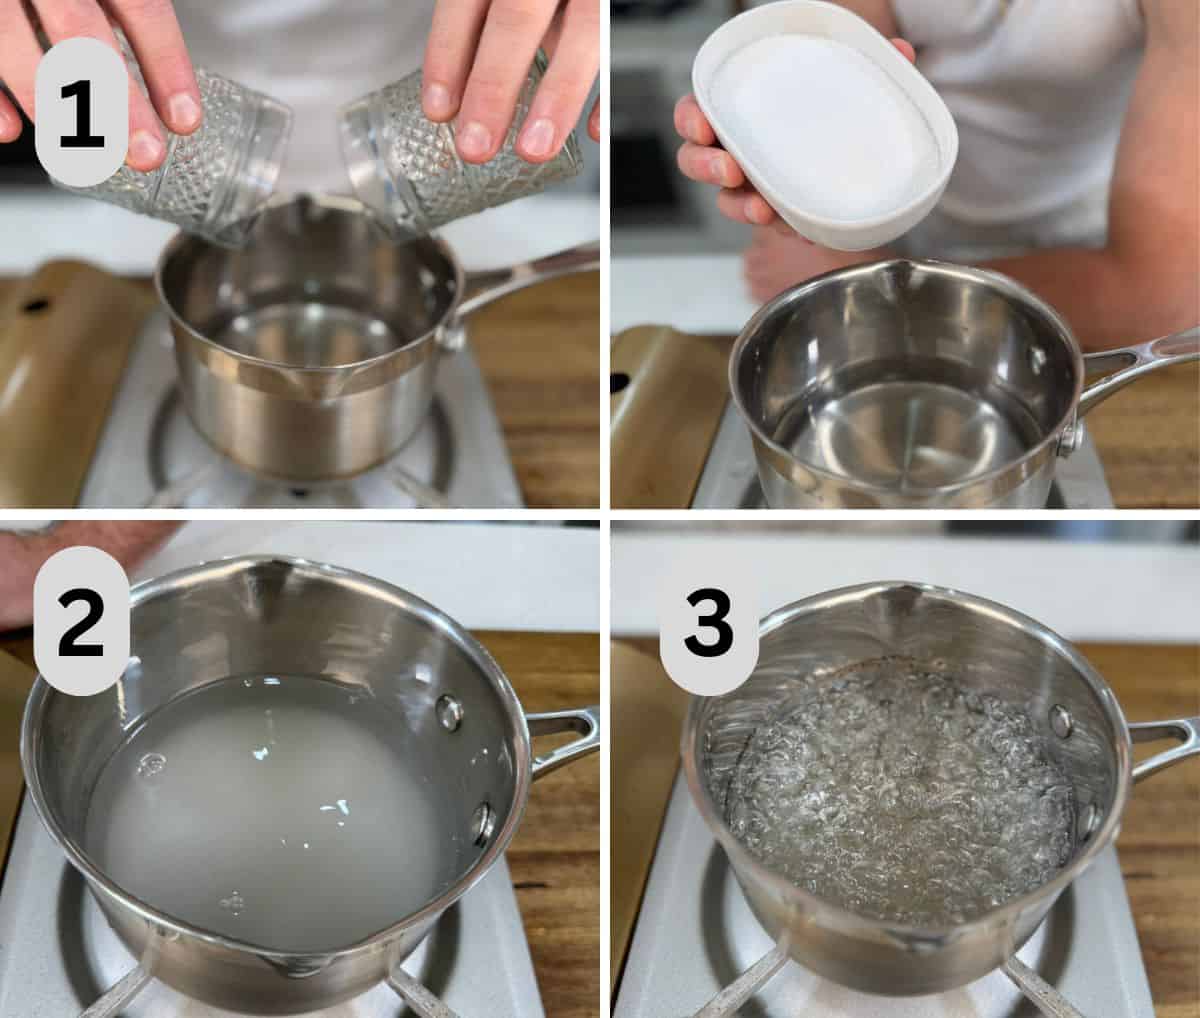
- Add the water and sugar to a small saucepan.
- Place the saucepan over high heat, stir to combine, and bring it up to a boil.
- Let it bubble for 1 minute, then remove it from the heat and set it aside to cool completely.
Bake the sponge cake
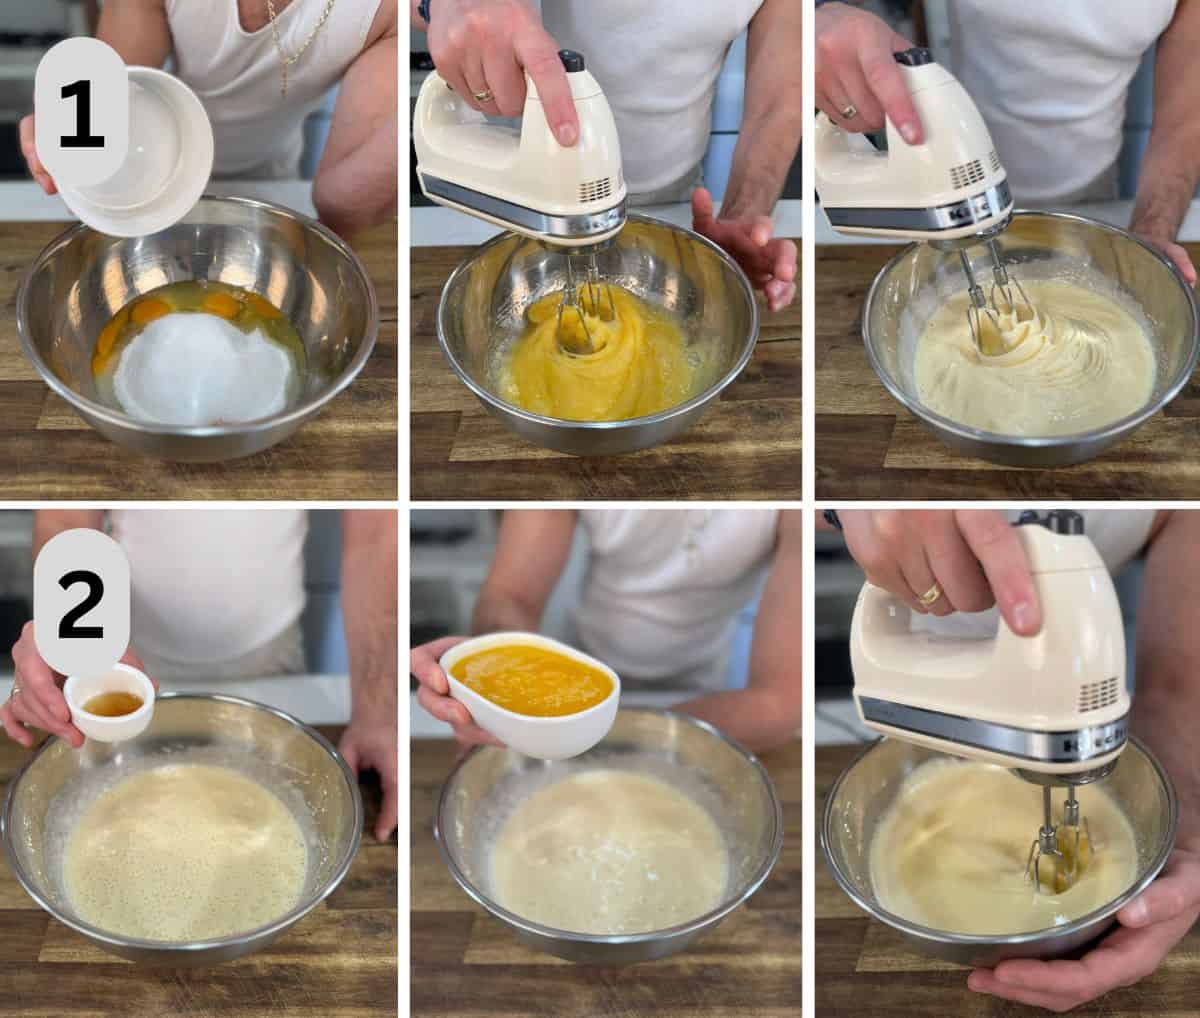
- In a large mixing bowl, beat the eggs and sugar together with a hand mixer until the egg mixture looks pale, light, and creamy.
- Add in the vanilla extract and melted butter, and mix again until everything is well combined.
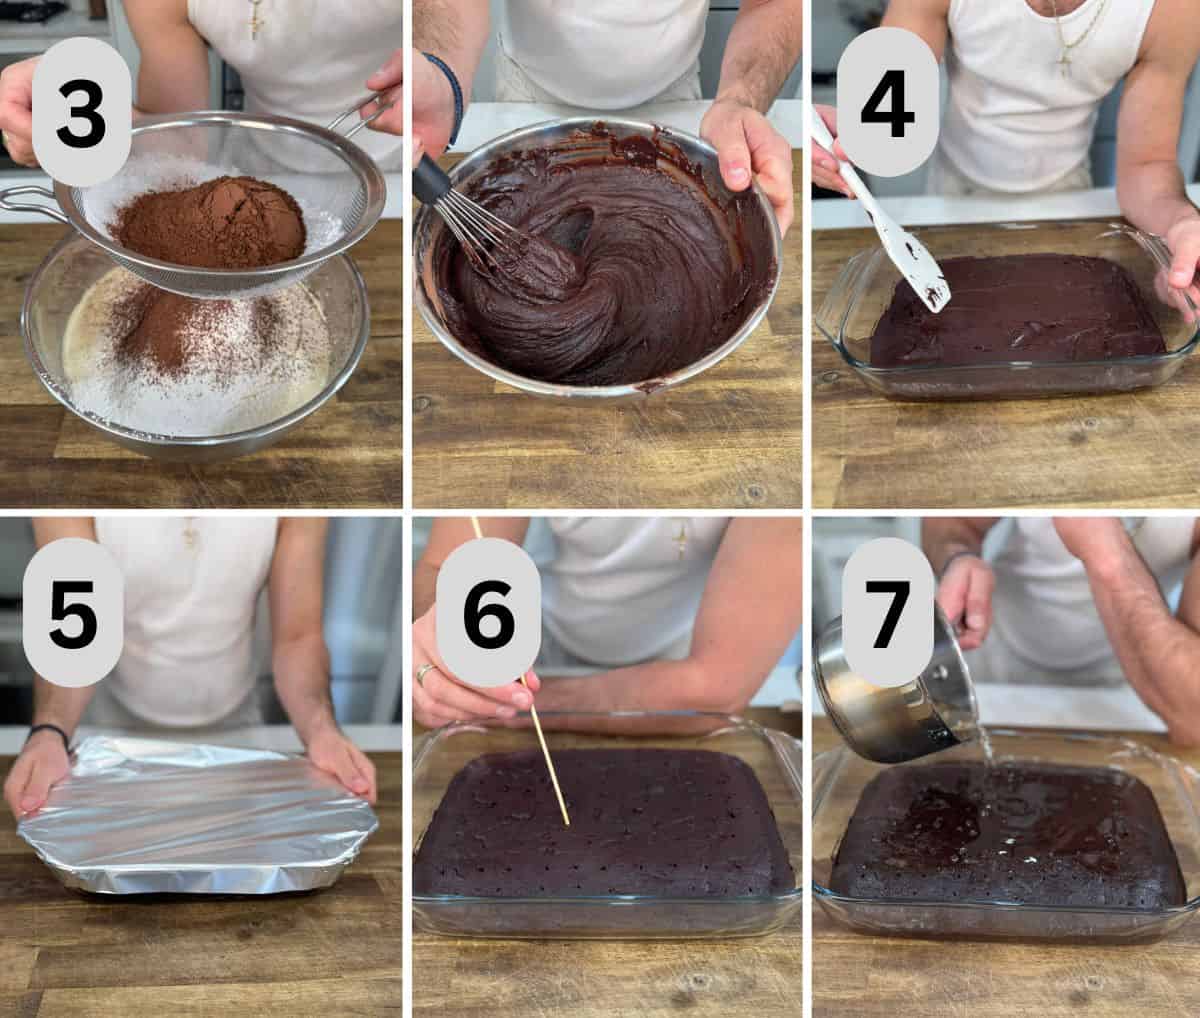
- Sift the plain flour and cocoa powder into the bowl. Then add the baking powder and salt. Use a hand whisk to gently mix everything together until fully incorporated and smooth, but do not overmix.
- Grease your baking dish with butter and pour in the cake batter. Then make sure to spread it out as evenly as possible.
- Cover the dish with aluminium foil and bake in a preheated oven at 160°C (fan-forced) / 320°F for 35–40 minutes, or until a skewer inserted into the centre comes out clean.
- Once baked, remove the foil, and while the cake is still hot, poke lots of holes all over the surface. I do this by using a skewer or souvlaki stick.
- Slowly pour the cooled syrup evenly over the hot sponge, letting it soak in properly. Then allow the cake to cool down before moving onto the whipped chocolate cream.
Make the whipped chocolate cream
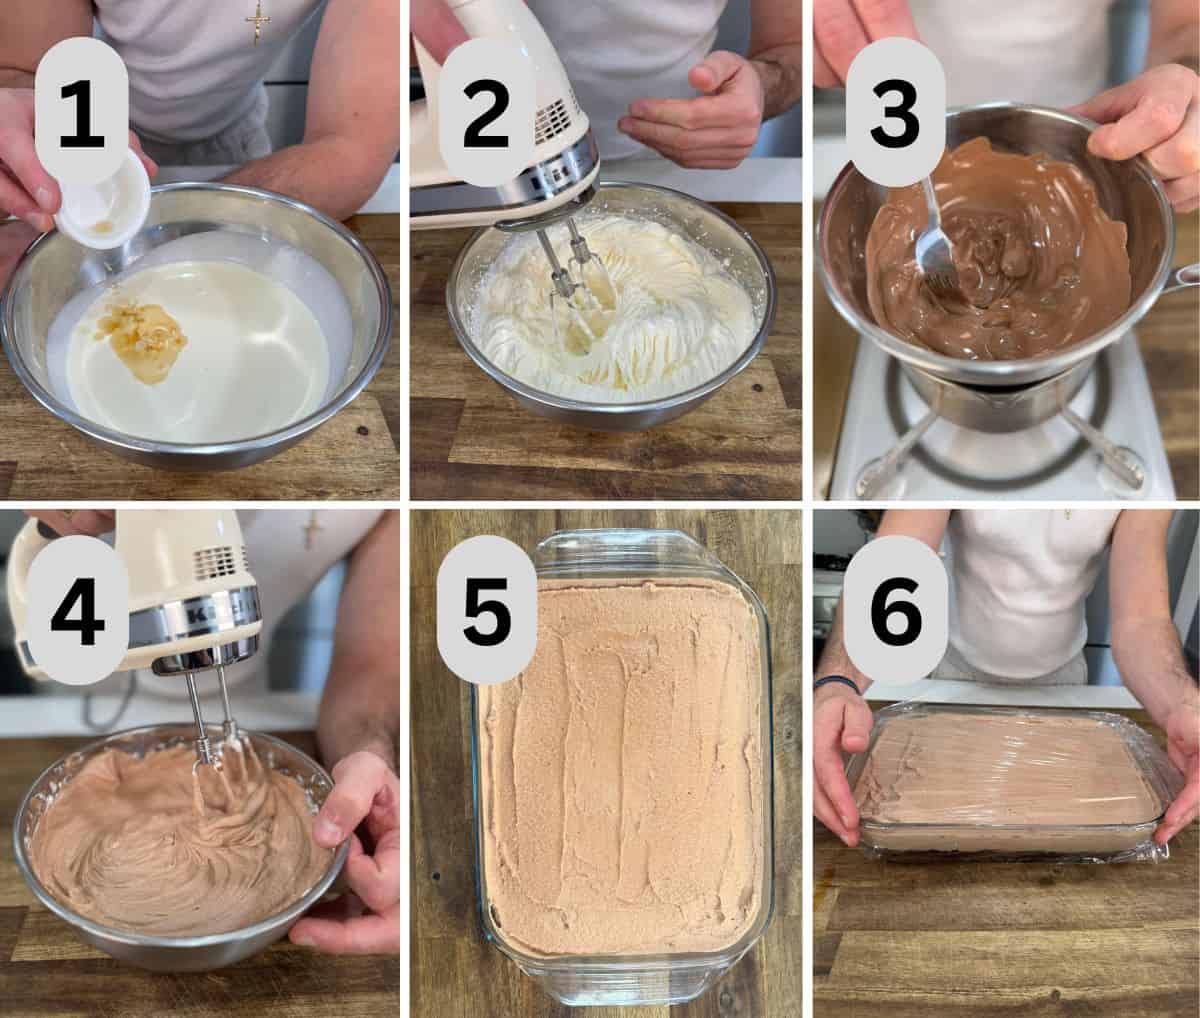
- In a large bowl, add the thickened cream and vanilla extract.
- Using a hand mixer, beat the cream until it is thick and forms soft peaks.
- Melt the milk chocolate using a double boiler or in short bursts in the microwave until smooth. Then let it cool down just slightly.
- Pour the melted chocolate into the whipped cream and slowly mix it through with a hand mixer until fully combined and creamy.
- Spread the whipped chocolate cream evenly over the cooled sponge layer, making sure to go right to the edges.
- Cover the dish with plastic wrap and refrigerate for at least 2 hours, or until the whipped cream layer feels set and slightly firm to the touch.
Make the ganache & finish
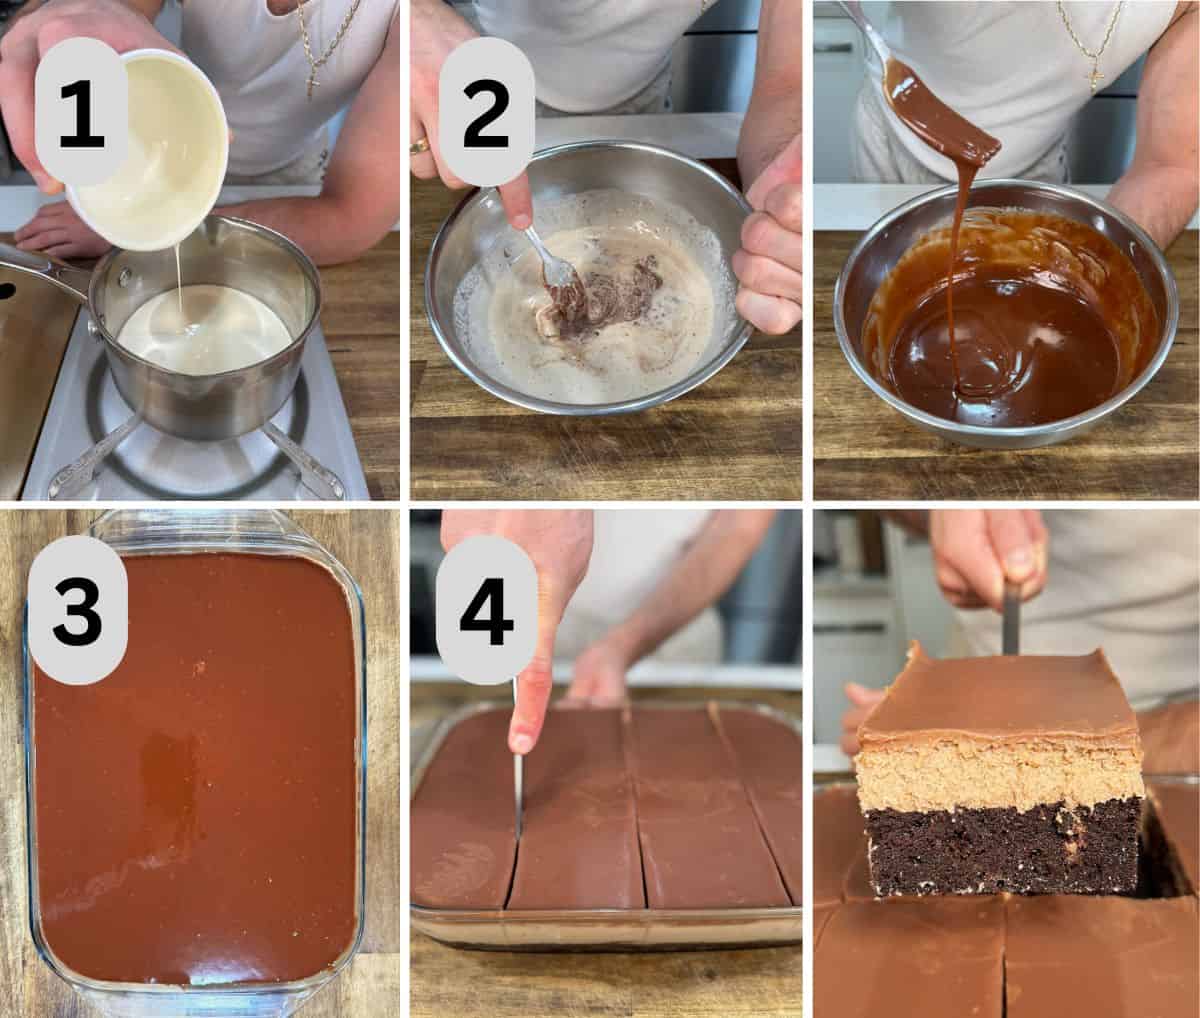
- In a small saucepan, heat the thickened cream over medium heat until it begins to boil, then remove it from the heat.
- Pour the hot cream over the milk chocolate in a heatproof bowl. Then stir gently until the chocolate is fully melted and smooth.
- Let the ganache cool for a minute, then carefully pour it over the whipped cream layer. Try to pour it as evenly as possible so you do not need to spread it around too much, which helps keep the finish smooth. Cover the dish with plastic wrap and refrigerate for at least 3 hours, or overnight for best results.
- Carefully slice into 8 or 12 pieces, depending on how big you want each piece. Make sure to clean, and wet your knife with warm water between cuts for the cleanest slices. Serve and enjoy!
Garnish suggestions
I usually just add half a fresh strawberry on top of the cake and leave it at that. Simple but looks great!
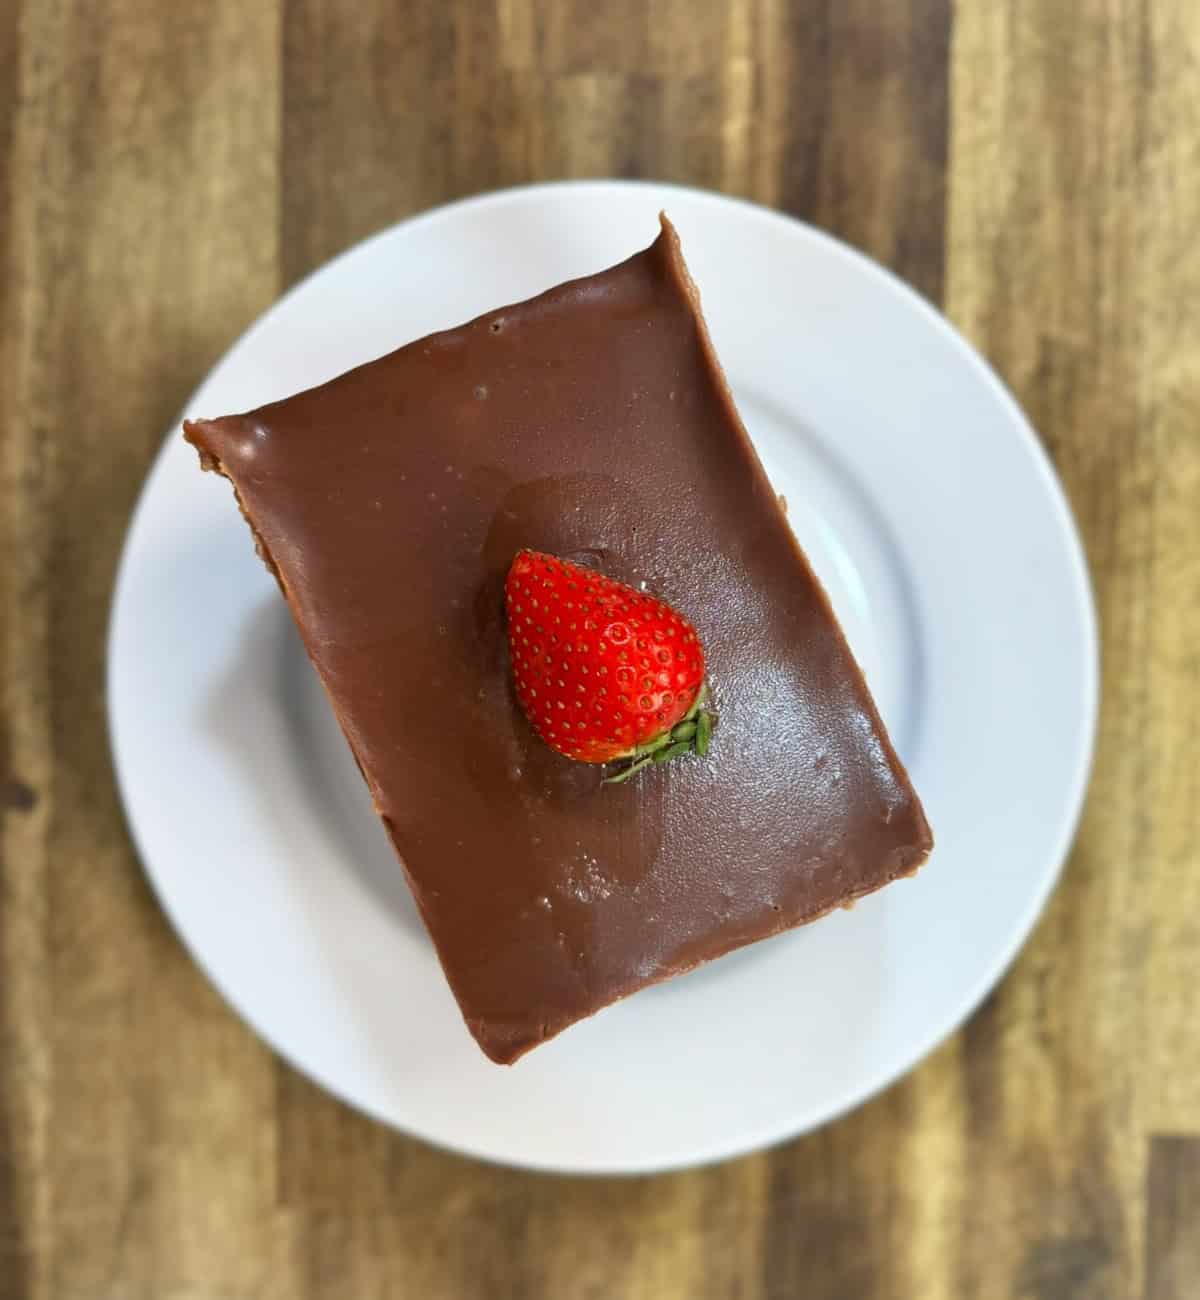
If you want to dress it up a little more, here are a few other ideas you can try:
- Sprinkle some chocolate sprinkles or grate a little chocolate over the top for a real dessert shop look.
- Pipe a little whipped cream on top. Try using a piping bag fitted with a large star tip to make it look extra special.
- Add a cherry on top for a fun, classic touch.
- Drizzle a little melted white chocolate over each slice if you want to take it up another level.
Top Tips
- Start with the syrup: Make the syrup first so it has enough time to cool down while you prepare the rest. This helps you get the perfect soak on the sponge and keeps that beautiful moist texture.
- Be patient with the cooling times: This cake is not hard to make, but you do need to give each layer enough time to set properly. Please don't rush it. Taking your time is the key to getting those clean layers and the best finish.
- Cover the dish before baking: Covering the sponge with foil helps it rise more evenly. It also gives you a much nicer base to build the layers on.
- Do not overcook the sponge base: Start checking just before the 35 minute mark. If it needs more time, you can always put it back in for a few more minutes. It should feel springy, not dry.
- Cool the melted chocolate slightly: When making the whipped chocolate cream, let the melted chocolate cool for a minute before adding it to the whipped cream. If it is too hot, it can melt the cream and ruin the texture.
📖 Recipe
Pasta Sokolatina (Greek Chocolate Cream Cake)
Equipment
- 1 Baking Dish 31cm x 23cm
Ingredients
Syrup
- 300 grams Water
- 300 grams Sugar
Sponge Cake Layer
- 4 Eggs
- 200 grams Sugar
- 2 teaspoon Vanilla extract
- 250 grams Unsalted butter melted
- 200 grams Plain flour
- 100 grams Cocoa powder unsweetened
- 1 tablespoon Baking powder
- ½ teaspoon Salt
Whipped cream
- 600 ml Thickened cream/ heavy cream 35% fat
- 1 teaspoon Vanilla extract
- 275 grams Milk chocolate melted
Ganache
- 200 ml Thickened cream/ heavy cream 35% fat
- 400 grams Milk chocolate
Instructions
Syrup
- Add the water and sugar to a saucepan.
- Stir to combine and bring to a boil for 1 minute.
- Remove from the heat and allow the syrup to cool completely while you prepare the sponge cake
Sponge Cake
- In a mixing bowl, beat the eggs and sugar until light and creamy.
- Add the vanilla extract and melted butter, then mix to combine.
- Sift the plain flour and cocoa powder into the bowl. Then add the baking powder and salt. Mix until fully incorporated.
- Grease a baking dish with butter and pour in the batter, spreading it evenly.
- Cover the dish with aluminium foil and bake in a preheated oven at 160°C (fan-forced) / 320°F for 35-40 minutes, or until a skewer inserted comes out clean.
- Once baked, use a skewer or souvlaki stick to poke holes all over the cake.
- While the cake is still hot, slowly pour the cooled syrup over the sponge, allowing it to absorb evenly.
- Let the cake cool completely before moving on to the next layer.
Whipped Chocolate Cream
- In a large bowl, add the thickened cream and vanilla. Beat until soft peaks form.
- Melt the chocolate using a double boiler (place a heatproof bowl over a saucepan of simmering water) or microwave in short bursts.
- Pour the melted chocolate into the whipped cream and slowly mix it through until fully combined.
- Spread the whipped chocolate cream evenly over the cooled sponge cake.
- Cover the dish with plastic wrap and refrigerate for at least 2 hours. (See note 1 below)
Ganache
- Heat the thickened cream in a small saucepan until it just begins to boil, then remove from heat.
- Pour the hot cream over the milk chocolate in a heatproof bowl and stir until smooth and glossy.
- Let it cool for a minute before pouring over the top of the whipped cream layer.
- Spread the ganache evenly and refrigerate the cake for at least 3 hours, or until set. (See note 2 below)
- Cut, serve and enjoy!
Video
Notes
- Cream setting: Make sure the whipped cream layer has set properly. Leave it in the fridge for at least 2 hours before moving on to the ganache. You can leave it longer if you are concerned it has not firmed up enough.
- Ganache setting: I advise chilling for at least 3 hours, but to ensure you get the absolute best cuts, leave it overnight.
- Cutting tip: For clean slices, run a sharp knife under hot water, wipe it dry, and clean the blade between each cut.

Kara says
This was so yummy!!
Nikolopaa says
Thanks Kara 🙏 So glad you enjoyed it!